Back door
Did you think I was done talking about doors?

When we first moved into our house we had a huge problem with our back door. The handle of the door wasn’t functional and the only thing keeping the door closed was the rim lock, which would also break if you turned the knob the wrong way (hence the taped black arrow). I tried replacing the rim lock, but none of the ones I found aligned with the rest of the hardware.
The other issue was the giant gap at the bottom of the door. Do you see it here?
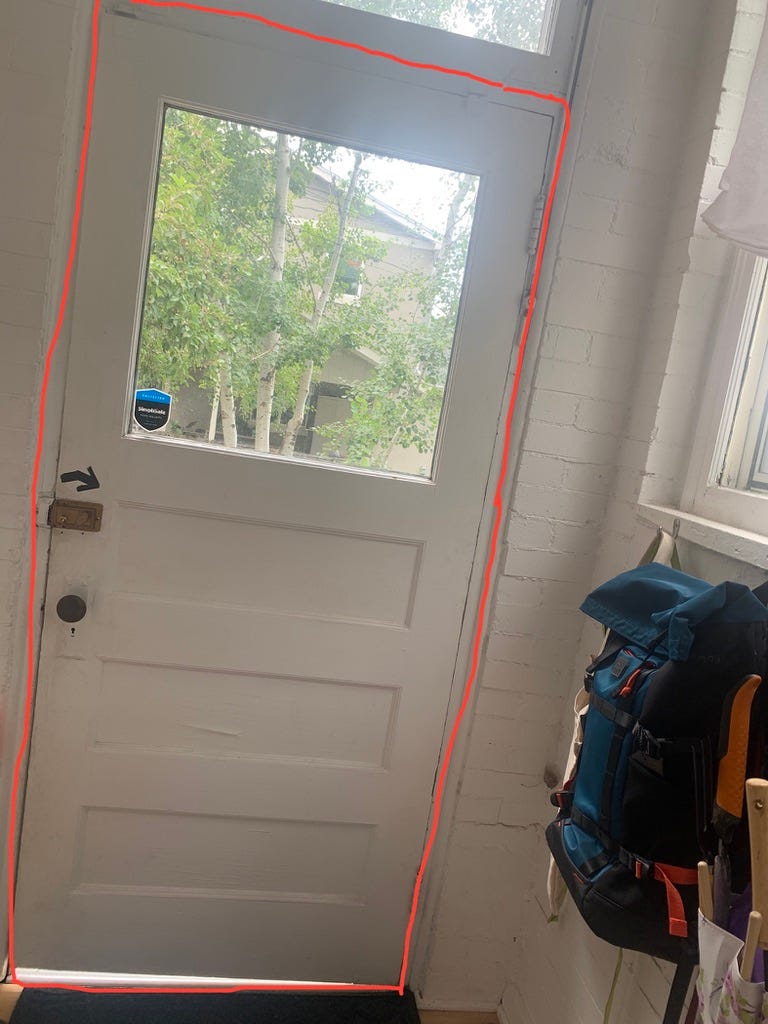
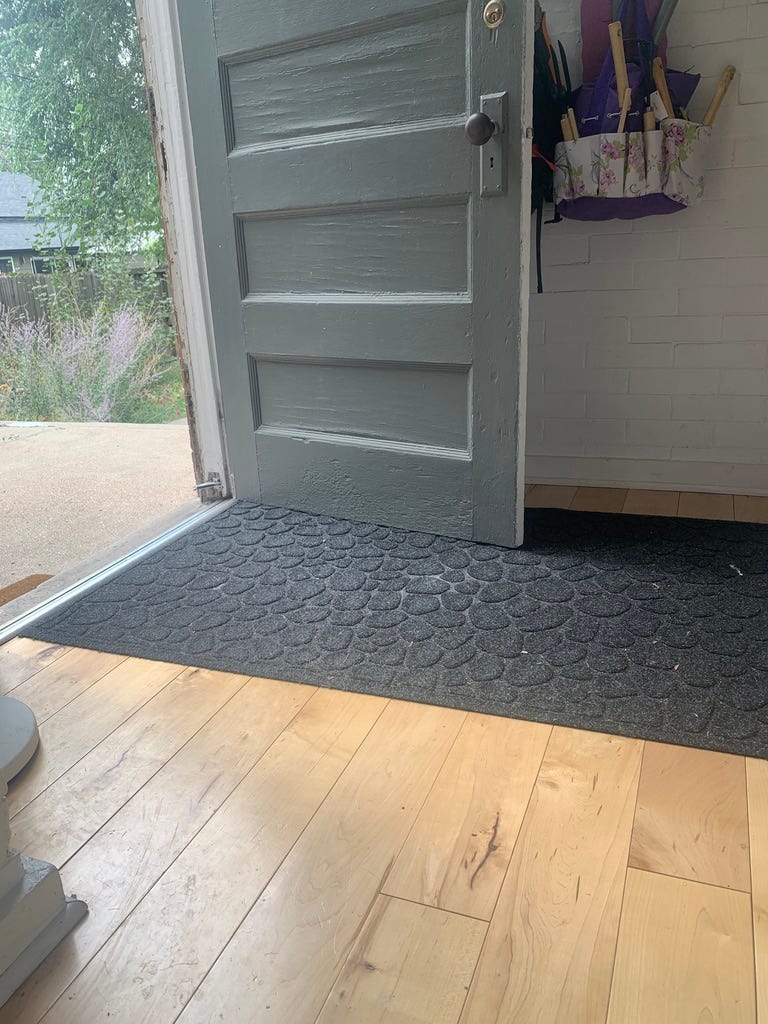
While it doesn’t look like much, it was a couple of inches and it let in a lot of cold air. This gap had to be here in order for the door to open because of how bowed the floors are in the mud room. See below how the door is flush with the floor when open?
The previous owners’ solution was to add a storm door to the outside to help block the cold air from coming in and to keep the mudroom door closed. Not long after we moved in, the storm door literally fell off the house. The wood of the frame it was attached to was rotted out.
When we organized our kitchen remodel, I had the new door replacement tacked on as a value-add. I knew this would be a tricky project because the opening itself also wasn’t square, and so I needed someone who really knew what they were doing to complete it. Doors are tricky because you never want to be left without the ability to close and lock your door overnight.
I got really luck in finding a brand new door with pre-drilled holes and a door frame available in Evergreen on FB Marketplace. I think we paid something like $200 for this door. It’s around $1500 new.
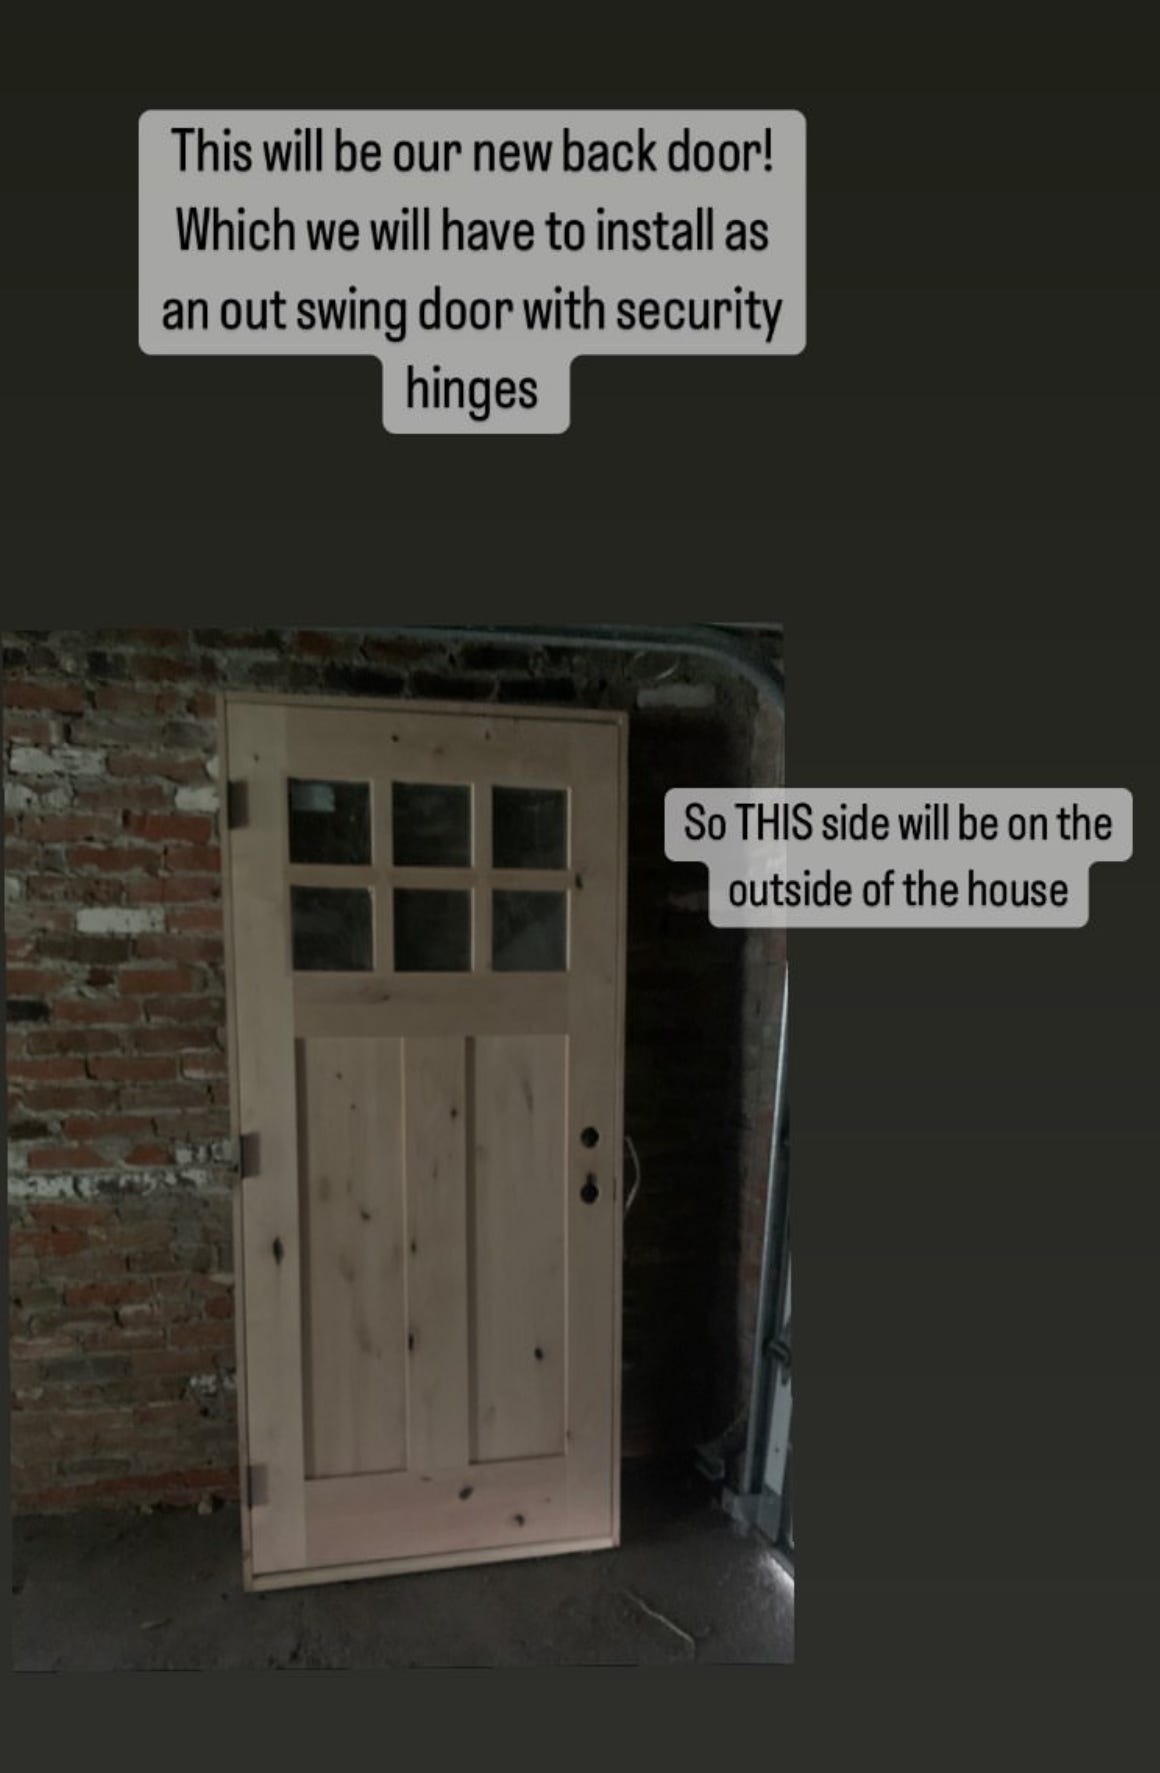
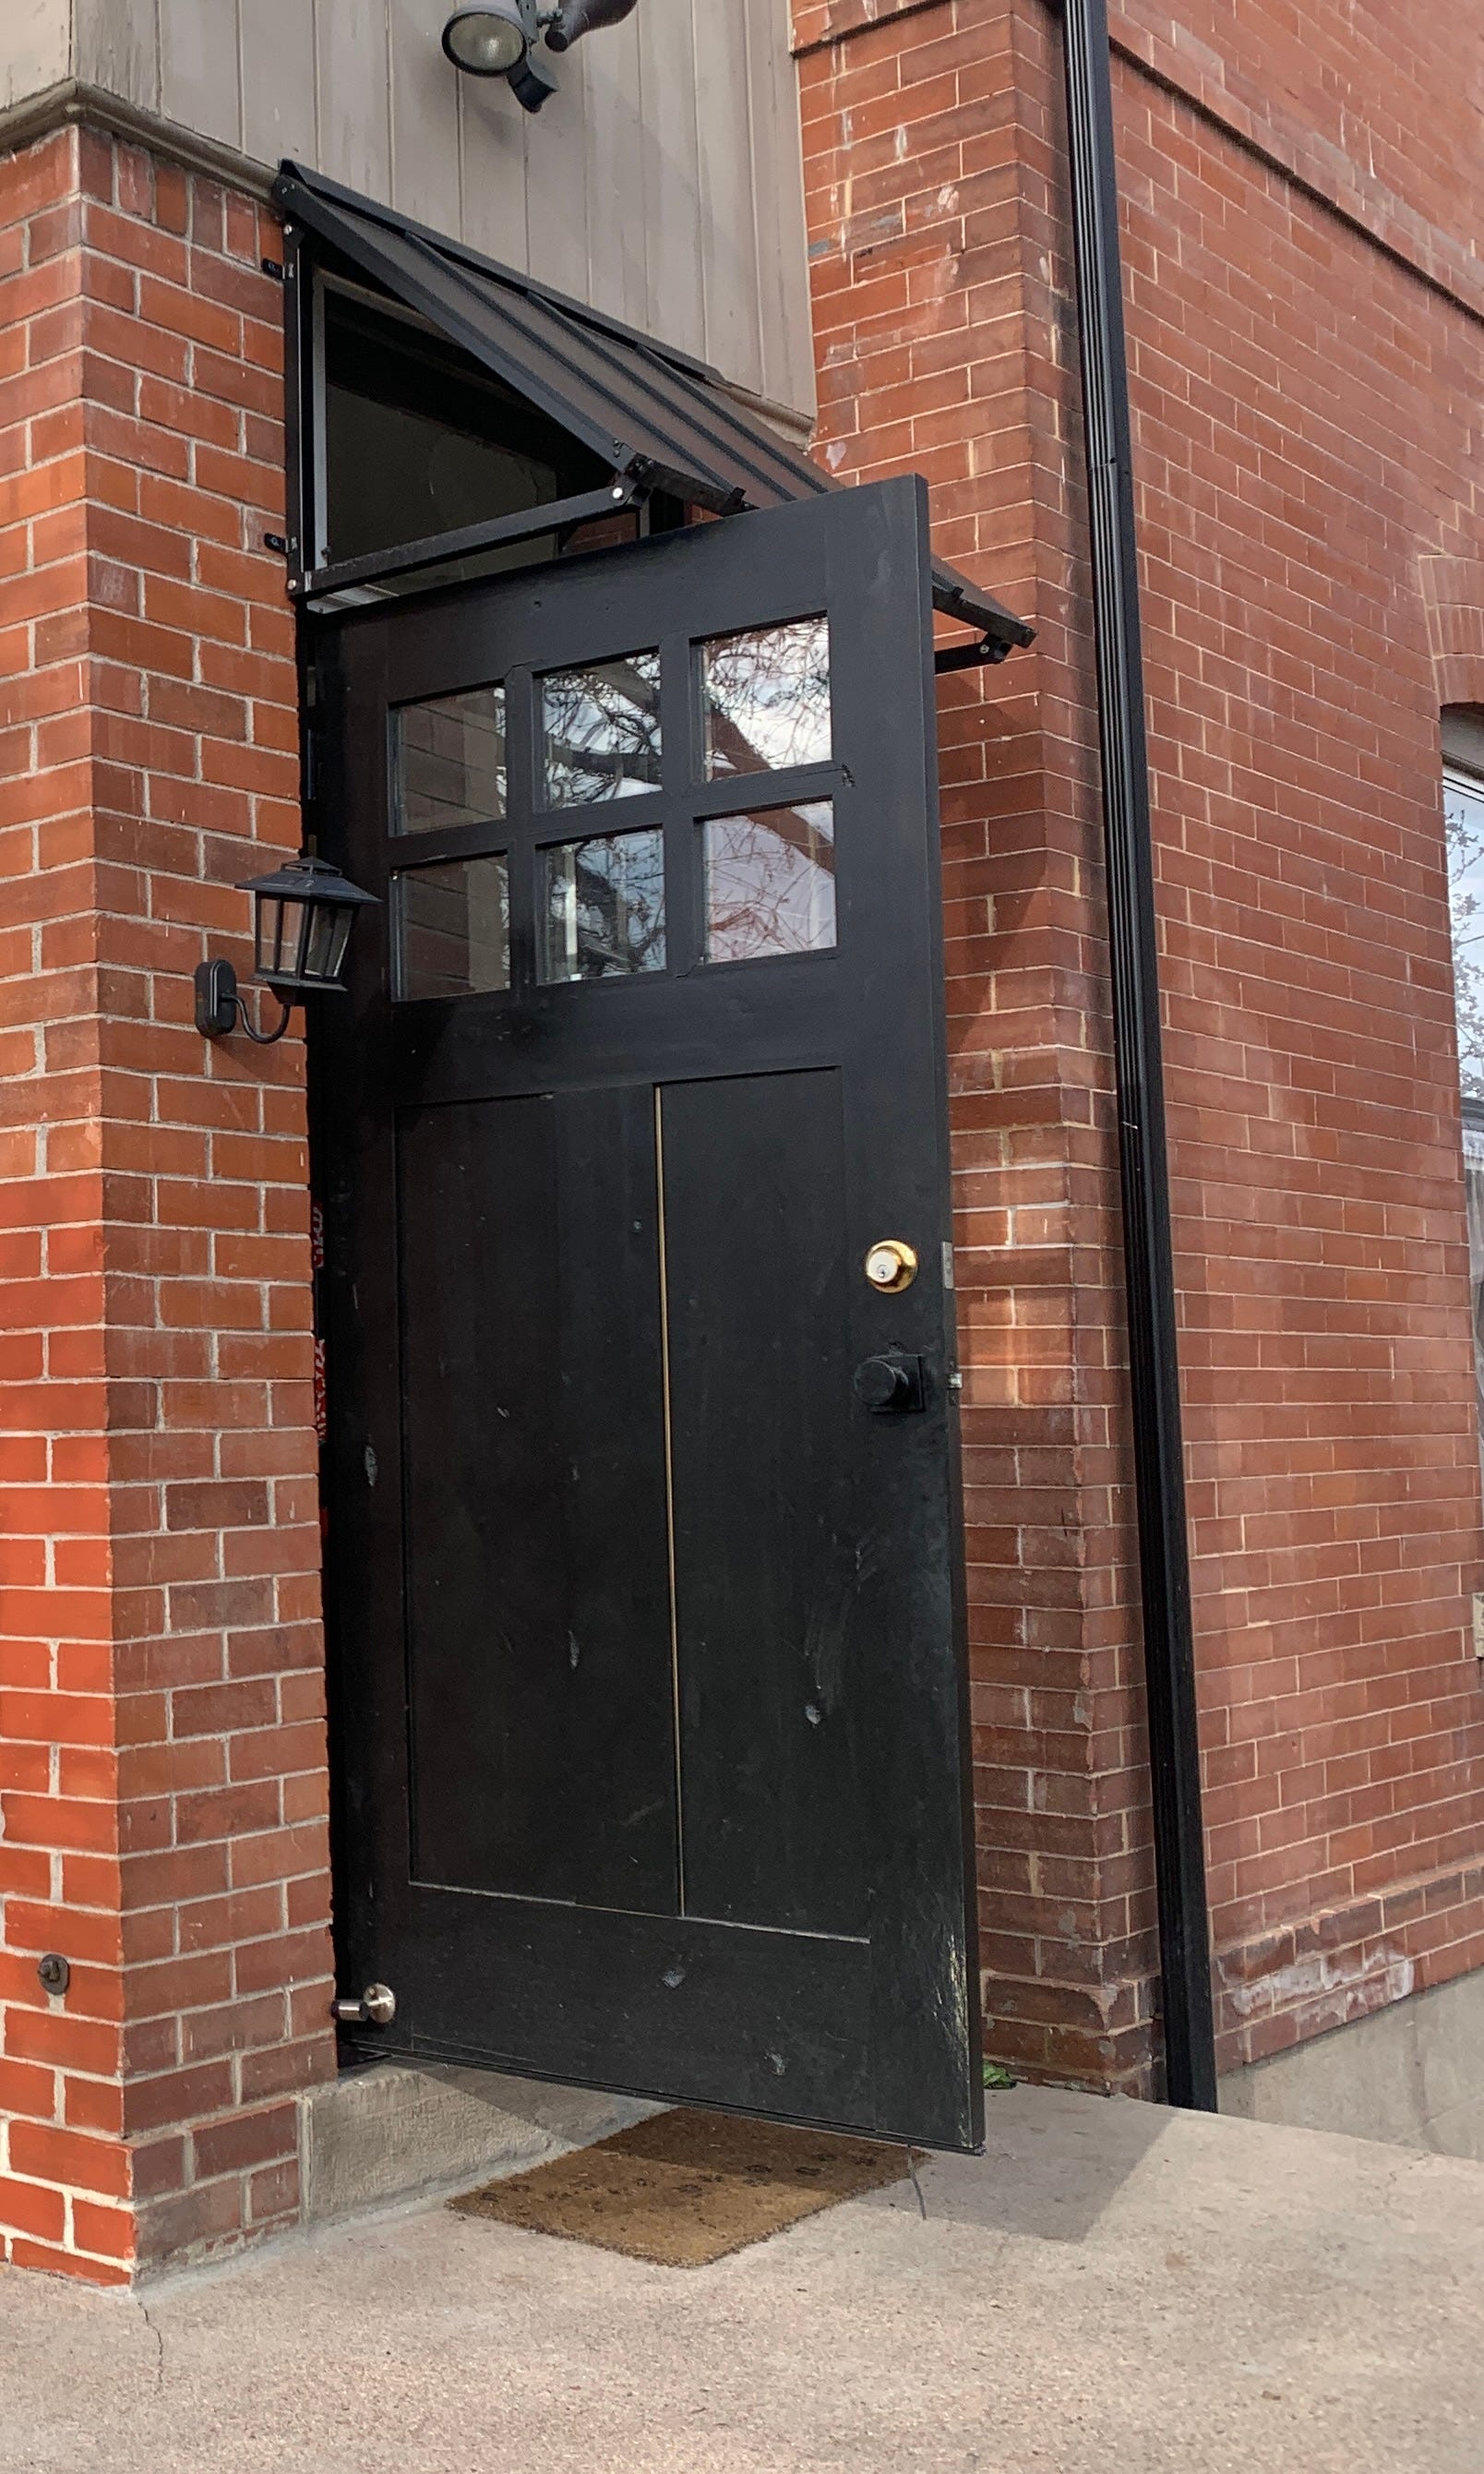
I arranged for the door to have an outward swing instead of an inward swing. This is incredibly unusual for a home, but it was necessary so that we didn’t have to have the large gap under the door. The main reason this isn’t really done is because then the hinges are on the outside of the house, which creates a security problem. To counter this, we bought these non removable or fixed pin hinges from Home Depot in black.
When they removed the door, they also had to remove the mortise window and reframe the whole opening because it wasn’t square. When I saw this giant opening at 2:06 PM I was not convinced we would have an operational door by the time the contractors left.
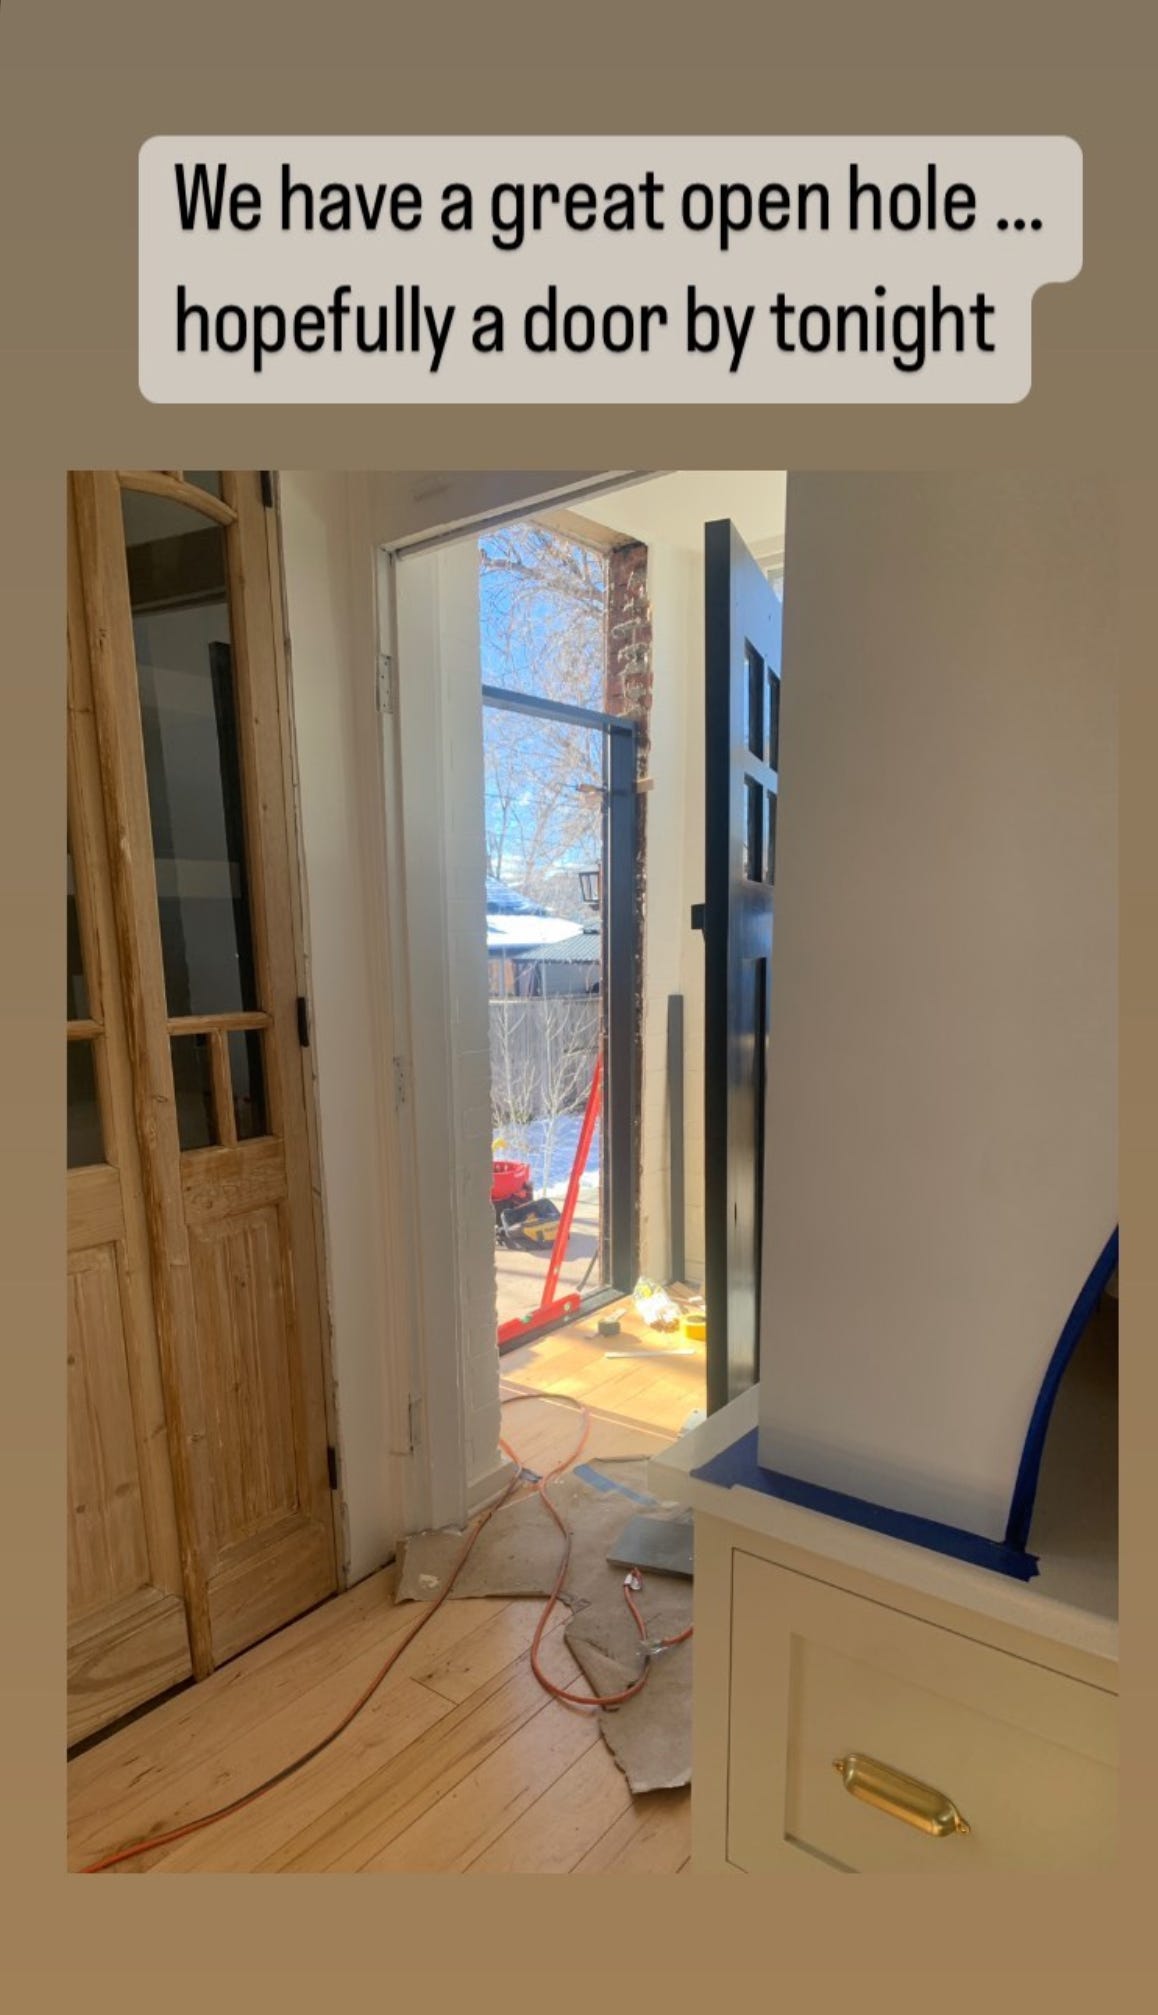
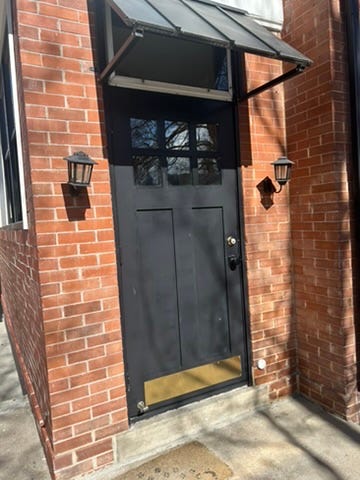
Thankfully, I was incorrect! We did get our door, though it couldn’t be locked for a night. They did show up the next day to finish it off. I also purchased an overhang for this door to protect it from the elements. This helps prevent moisture from sitting between the top of the door and the frame when it rains or snows.
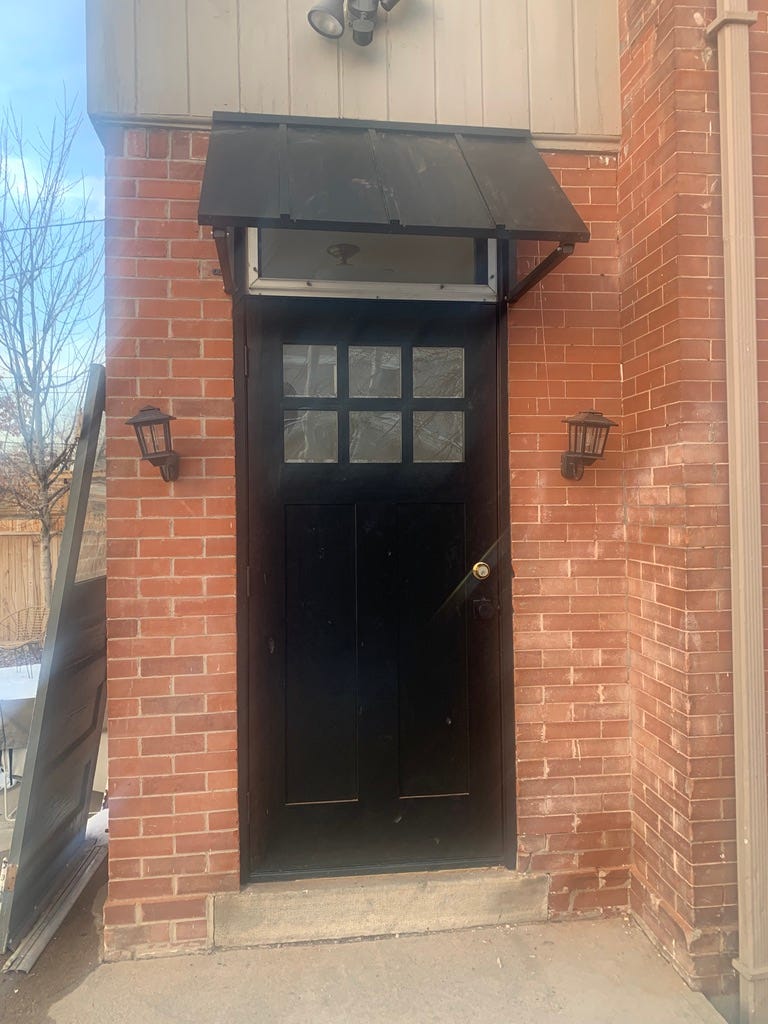
We also added a doorstop to face of the door on the outside near the hinges to prevent it from knocking into the light (which is soon to be replaces with a nicer fixture).
Now that it’s been a few years, our back door needed some TLC. We trained our dog to use a doorbell to go out when we were living in DC since we had to take her out on the leash, and so now we unfortunately have a lot of doggy scratches!


I finally got around to sanding those out and patching the paint! Unfortunately, the spray can of touch up paint the contractors left me didn’t match, so I ended up painting the entire door. Thank goodness I had leftover paint from our front door project in January. I also bought brass toe kicks for the inside and outside of the door to help protect it. I used velcro to adhere it on the inside just in case the brass scratches off easily, but I used the screws it came with for the exterior.
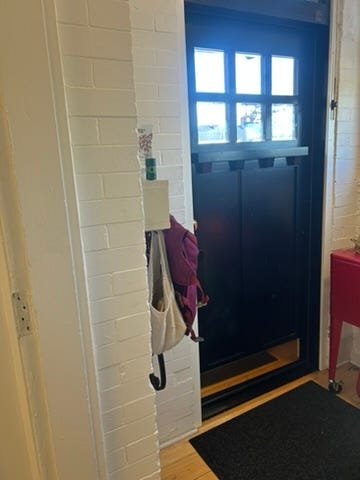
You better believe we’ll be reinstating the doggy doorbell now! See it? It’s that little white button on the brick!