
When we first moved into our house, the old owner’s left behind a few structural pieces they’d made themselves that were extremely difficult to dismantle. One of those pieces was in our would-be nursery. It was a bunkbed that was both screwed and glued in place to both the walls and the wood floor under the carpet. It came complete with rock climbing footholds on the window frame so the child could actually climb into bed. Inventive, but not quite our taste.
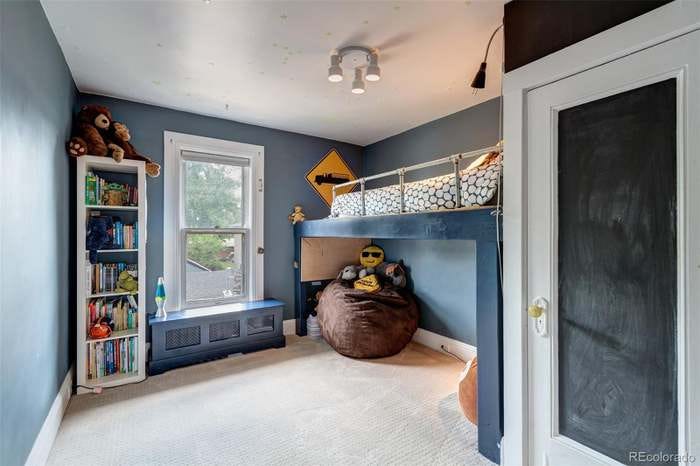
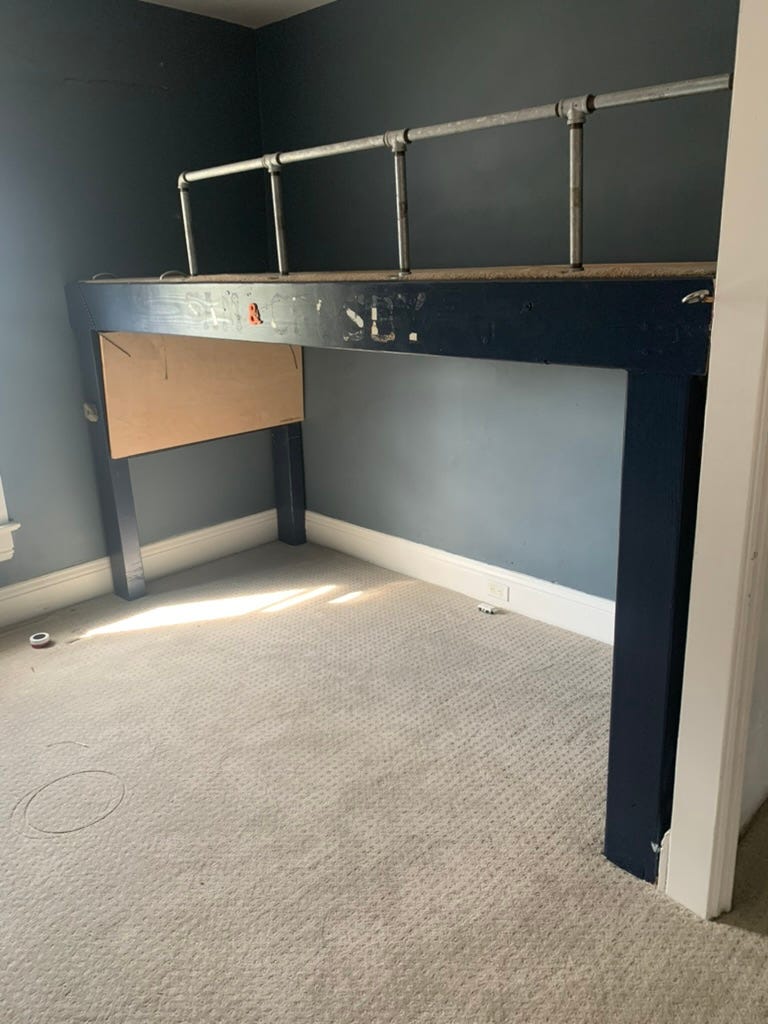
I dismantled what I could myself, but ended up hiring a junk removal guy to come and sledge hammer the rest! During our wedding weekend the whole house was painted in Simply White by Benjamin Moore, and when I returned from our honeymoon, I started pulling up carpet.


This room became Ryan’s temporary office until I could design and build the wood-paneled office we have today.


I was neck-deep in our primary suite renovation when I was planning out our nursery, and this room was primarily used for storage. Because I was pregnant, I didn’t get to make the structural changes I wanted to in this room. I’m really glad I didn’t try!
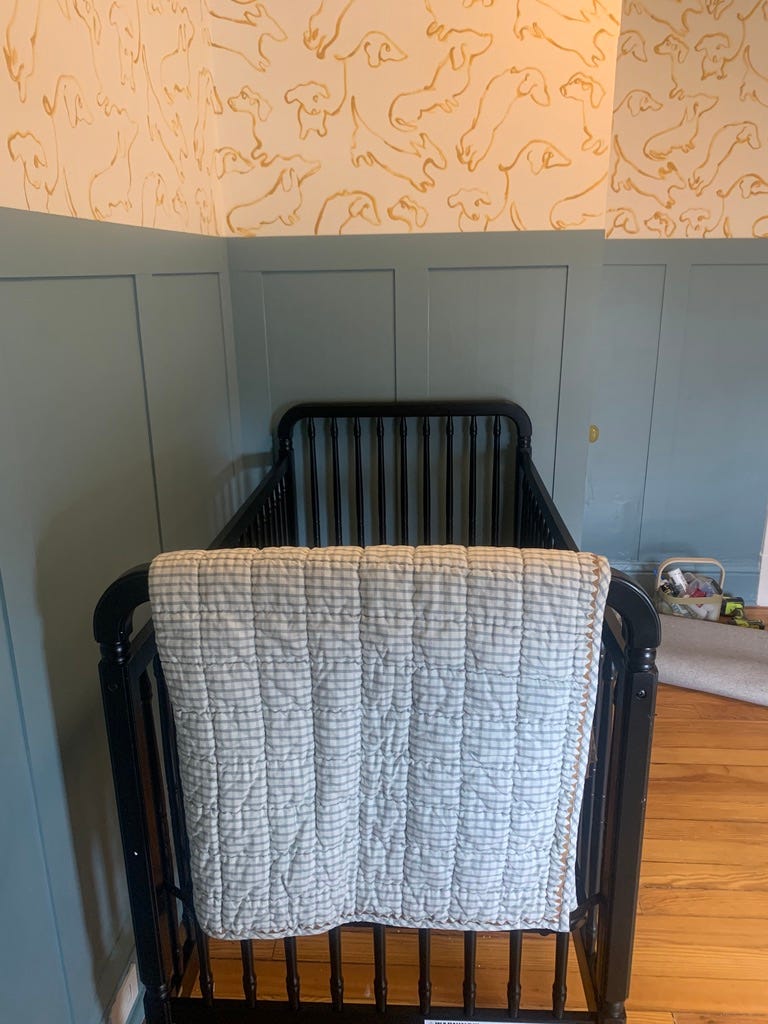
See that wall behind the head of the crib in the picture below? That is a very thinly constructed drywall-wall. Like our old pantry in the kitchen, they put the door on the short edge, which makes an awkward closet with less storage than is possible. What I’d really like to do is take both closet walls down, demo the inside, and situate 4 Ikea Pax cabinets along this wall.
This is a bigger project than it seems because our ceiling is plaster and so fragile, and also because there is a small golf-ball sized hole in the ceiling of Harrison’s closet. Hence why I didn’t attempt this project before Harrison was born! (Psst: there are layers of wallpaper inside the closet and it still smells faintly of cigarette smoke).
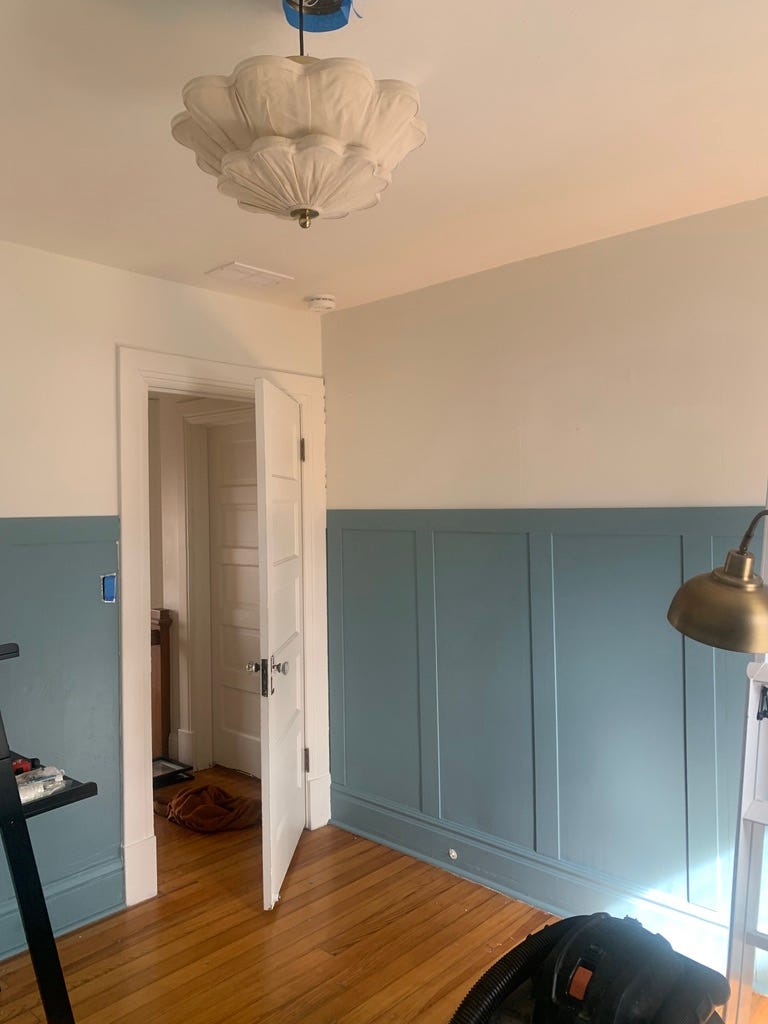
But now I’m getting ahead of myself. The day I had my early viability scan with Harrison and found out he was in fact in there, I put up his nursery light fixture:
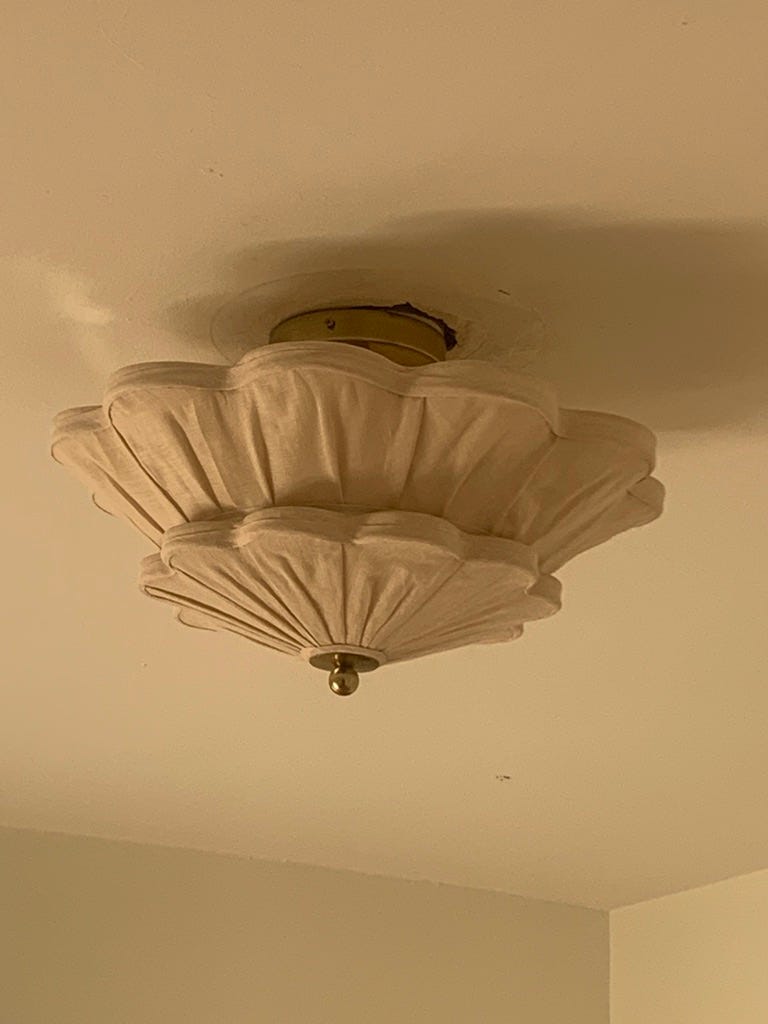
It is perfect for a nursery but certainly doesn’t scream boy room, so I fully recognize I’ll probably have to change this in the future. (Psst: I think changing a light fixture is a skill every homeowner should know how to do.)
I knew I wanted a blue and yellow room regardless of whether we were having a boy or girl (I always knew boy!) but I wanted to save costs on wallpaper. We have board-and-batten panelling in a couple of rooms in our house already so for continuity and to have less sq ft of wallpaper, I chose to use it in Harrison’s room. For his room I had a little secret: I used bender boards instead of MDF boards. It’s the best decision I could have made because I had the boards up in a couple of hours!
Bender boards work particularly well in houses that are old and the walls are bowed or not flat in any direction. Most of our house’s walls are like this, and we found out the hard way while doing board-and-batten with MDF.


These bender boards were very forgiving! When they had to mold themselves to the wall, it would sometimes leave a small gap between the vertical boards and the baseboards, but because they were only 1/4” thick, you really couldn’t tell with the end product. I leveled and mounted the top rail (horizontal first), then I mounted the verticals with the top of each piece firmly planted against the bottom of the top rail. For these bender boards I was actually able to just cut all the vertical rails the same length using my compound saw and a clamp to get each board even. (Psst: when using MDF in our crooked house, I had to take individual measurements for each vertical board).
I tested our blue paint color in big patches on all four walls before committing to buying a can. I wanted a blue that looked like Oval Room Blue by Farrow & Ball without the price tag and shipping time. Provence Blue by Behr was a pretty good match. I also wanted to make sure the blue wasn’t too bright or too gray, and I wasn’t fully convinced I’d made the right choice until the room was complete.
For the wallpaper portion of the wall I considered a couple of different options. I didn’t want to use actual wallpaper because of the cost, and because it would never look perfect with how crooked our walls are, and it’s a pain to remove when Harrison grows out of it. Instead I considered stamps, stencils, a hand painted mural, or a simple repeated pattern I could project on the wall.
Psst: If you want to use stamps for a wallpaper effect, use ink not paint to get crisp, detailed patterns and a laser level to create your grid! Some of the best stamps I found online were cowboy themed, golf themed, floral, and zoo animal themed! If you want a multicolor motif, stencils are a better way to go! If we were having a girl I’d already picked out a stencil to make a motif similar to my favorite wallpaper by Hope Johnson.
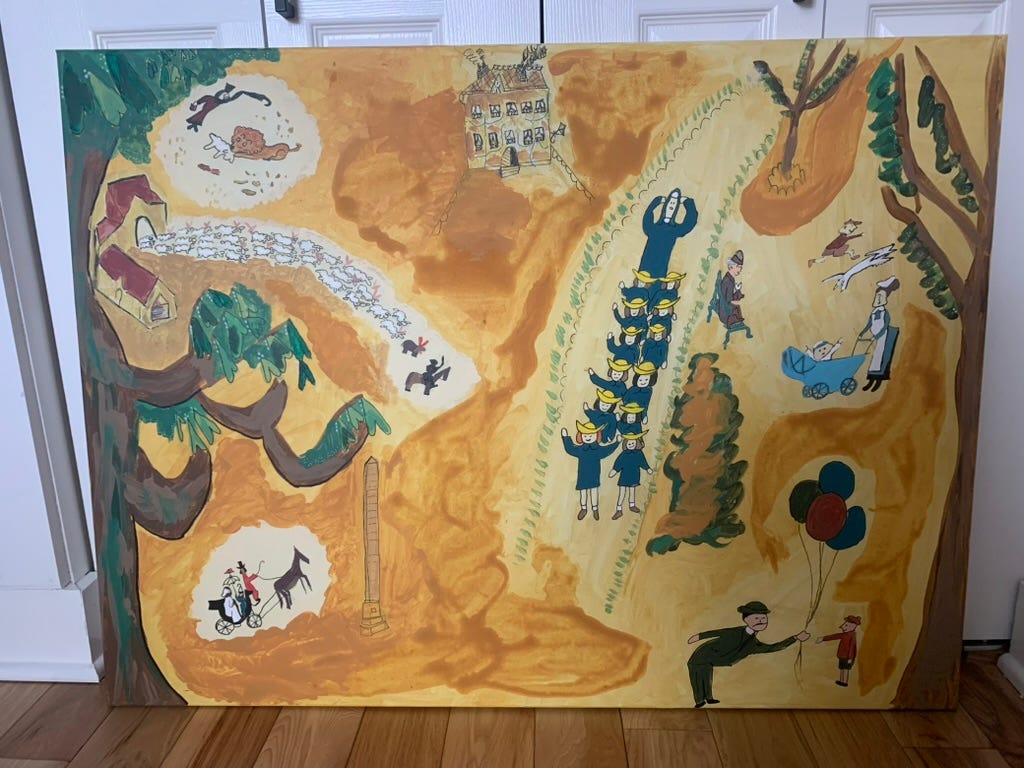
The mural probably sounds daunting, but I can replicate images I see pretty easily! If I were going to do this for a boy-room I’d probably have done a Where the Wild Things Are mural. For a girl, I’d have done a Bemelman’s Bar inspired mural like the one I did below for fun during Covid.
I ended up using a projector I’d bought my dad a few years back to project the image of a wallpaper print I found online and tracing the print with French Quarter Gold pain by Benjamin Moore. I took a screen shot of the wallpaper and cropped it on my phone so that it showed one section of the pattern that would then get repeated over and over again. The wallpaper isn’t available online anymore so I’m posting a photo below:


The trickiest part of using a projector was making sure it could be the same distance from all of the walls in the room so that the pattern would stay the same size. The projector I used didn’t have a zoom function. In a square room, that seems like it would be easy, but with how the closet was situated, it was a bit difficult, so I ended up eyballing the pattern above his closet door.
The most annoying thing about doing this project (apart from having to puke between panels) was that my projector lost battery after about 30 minutes and couldn’t be plugged in to charge while it was on, so this took a long time to complete. If I was doing this project again, I’d probably draw everything in pencil first and then paint over it because it would just be faster and I’d be able to get more done before the projector died.


In a way this room has come full circle, it started as a blue boy’s room and is again a blue boy’s room, though in a slightly different shade of blue.
Check out our fully finished nursery below along with the details on our changing table transformation:
Keep reading with a 7-day free trial
Subscribe to Georgia’s Substack to keep reading this post and get 7 days of free access to the full post archives.